This was th second time I have made a Bassinet cake, I was really excited to try it again using more pleats and managed to take pics of the process to create this simple tutorial. I have also done a separate tutorial on how to make the Wood grain board. (Sorry pics were taken at night so not the best lighting!)

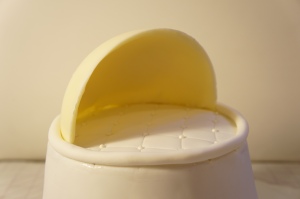
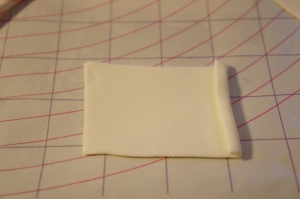
Start off by creating the Bassinet hood. This can be done a few ways, last time I made it out of gum paste, but this time I decided to make it out of solid chocolate, its stronger and yummier too! Using a bowl or a ball pan, coat a very thick layer of melted chocolate to half of the pan, place in fridge to set. Its important to take note of the size of the bowl or pan to ensure the hood is going to sit within the size of your actual cake when its placed on top. Make sure the centre line is very straight, this is the part that sits on the cake and you want it to be flush. I used a knife when it was semi-set.
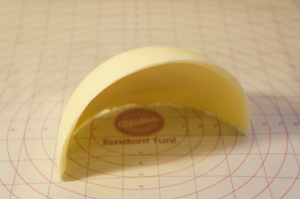
Once its set, pop it out and you have a perfect little base for your Bassinet hood.

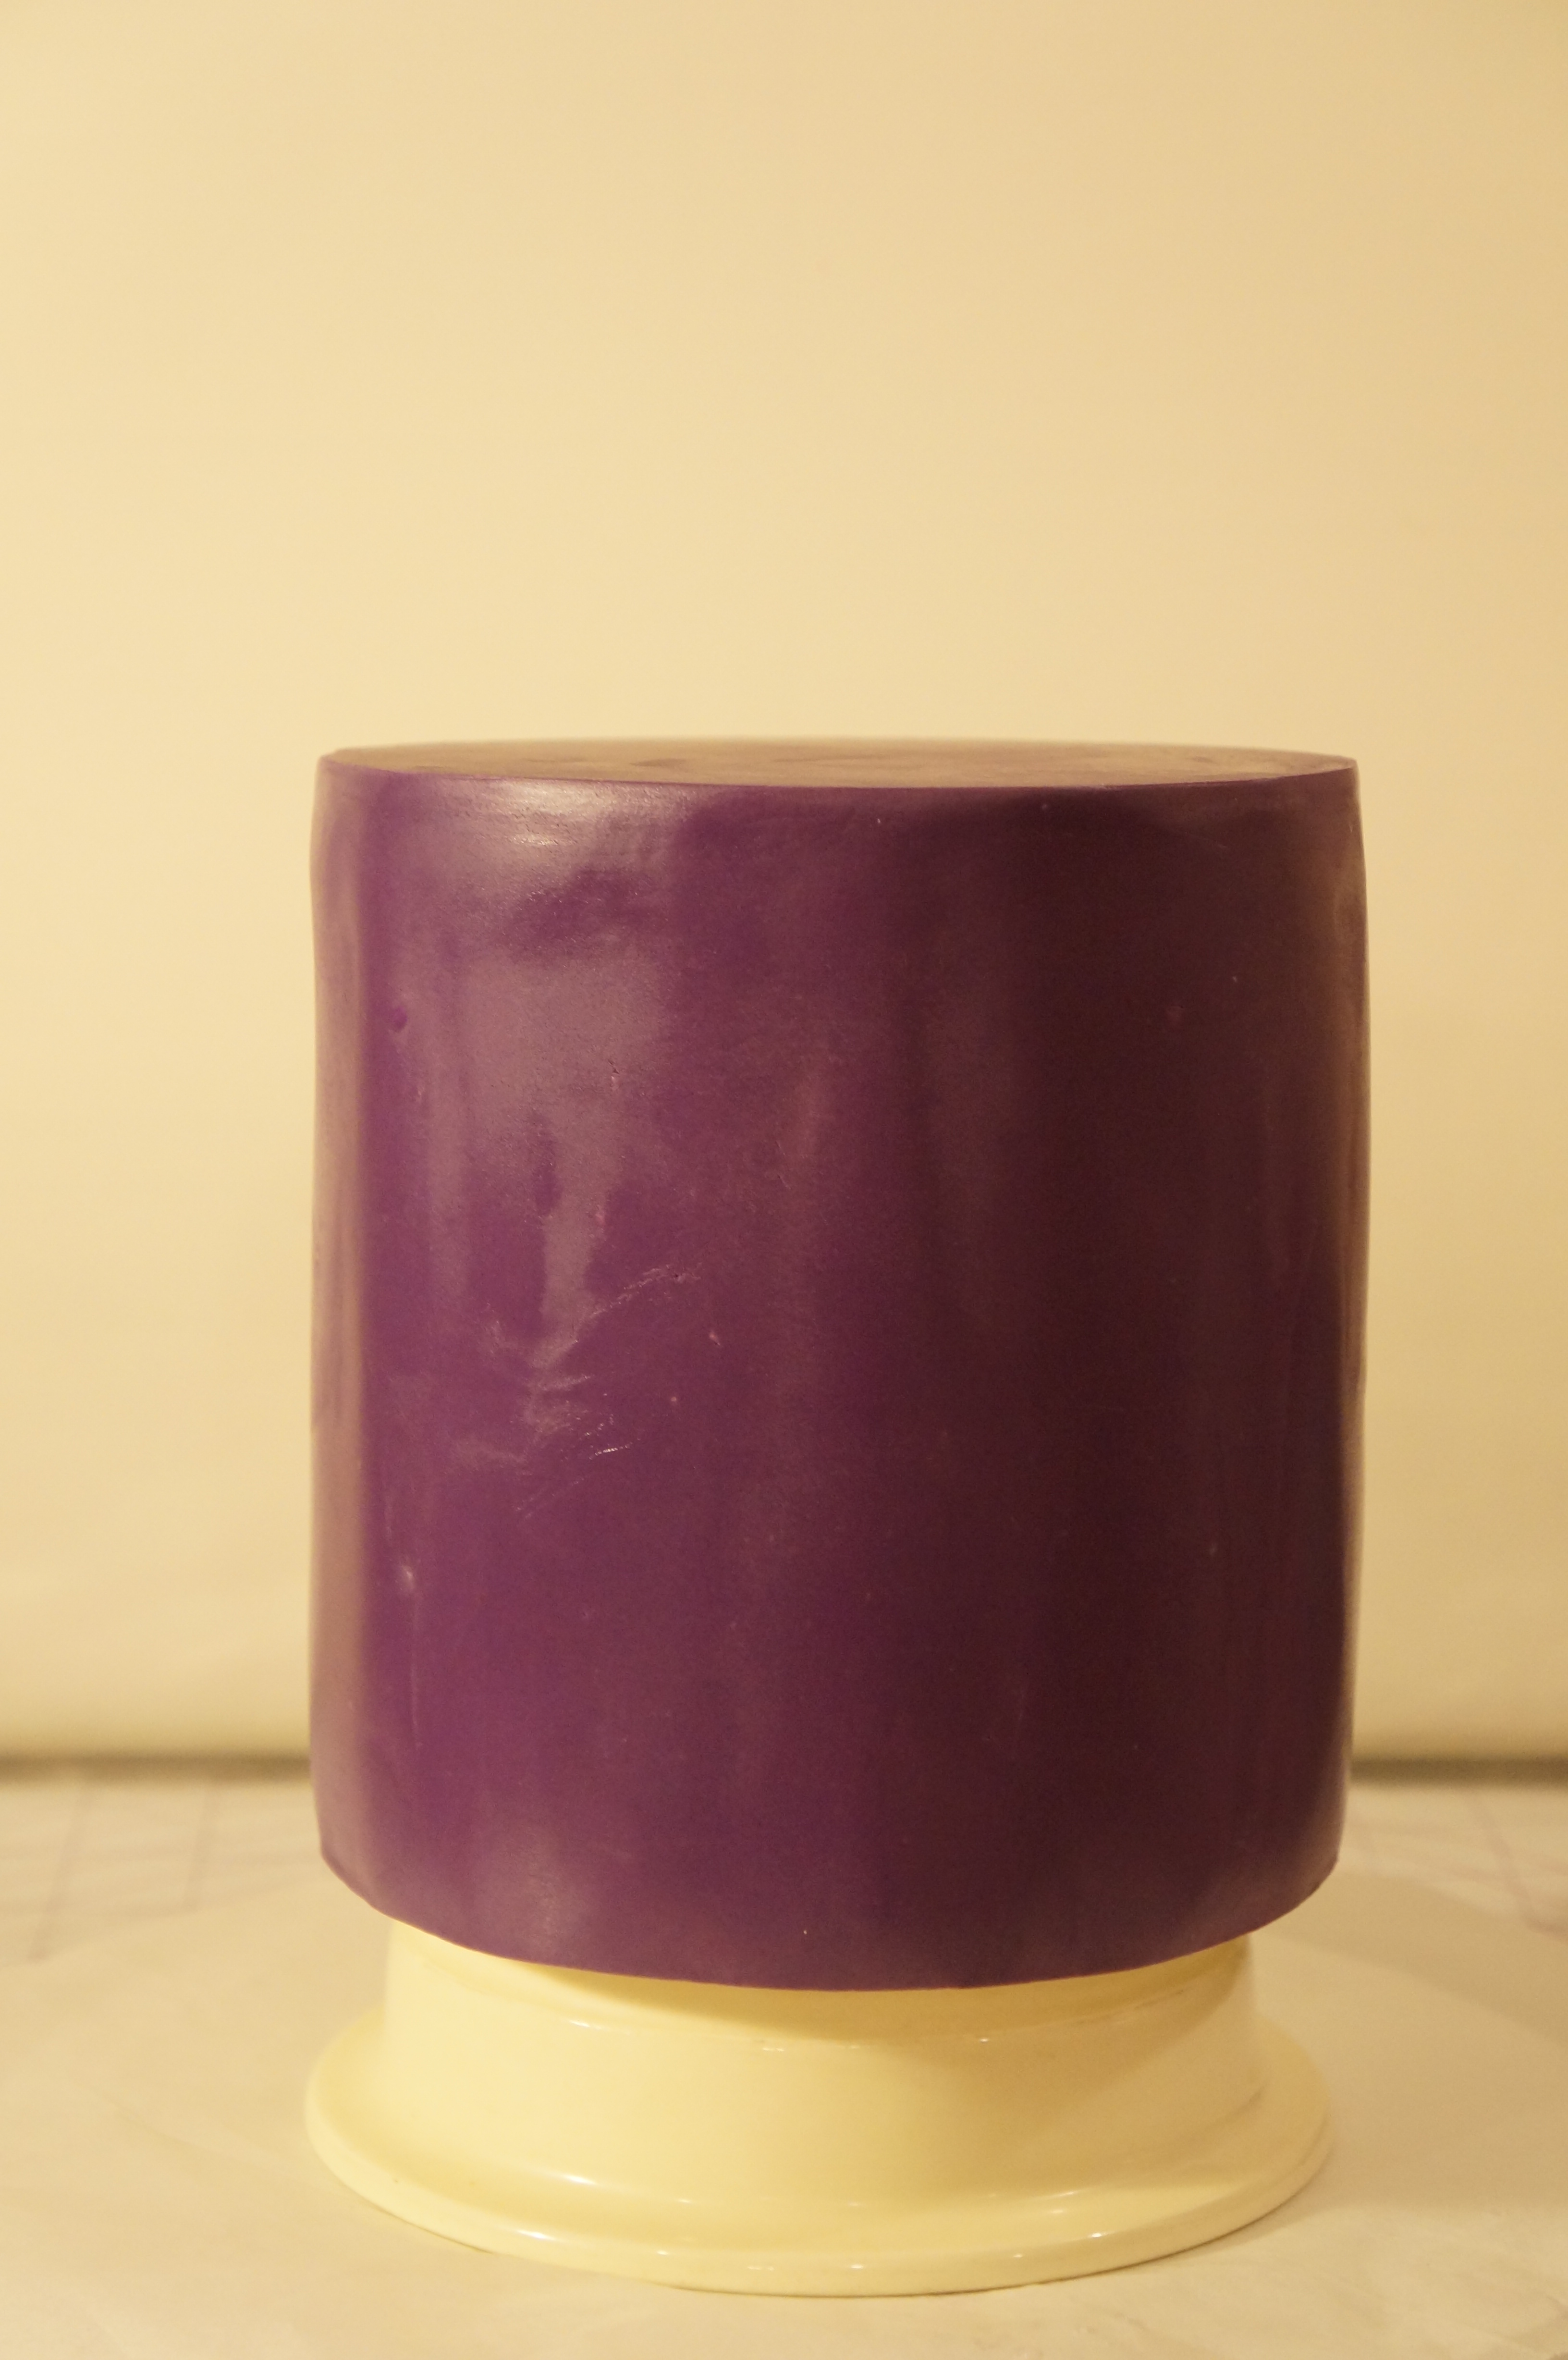
For the cake, I carved an 8 inch cake so that it measured approx 6 inches at the top. Then covered in ganache.

The cake was then covered in fondant. (This is a base to the fabric pleats so it does not need to be perfect)

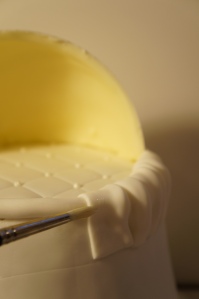
A quilted pattern was then applied to the top of the cake. (This is going to look like a blanket that has been neatly tucked in)
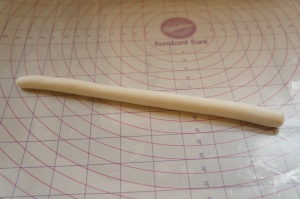
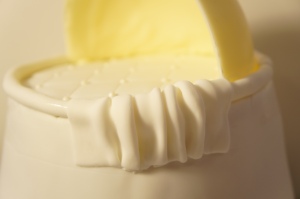
Roll out a fat fondant “tube”, long enough to fit around the top of the cake (This is going to be covered in fabric pleats and will add height around the top of the bassinet)
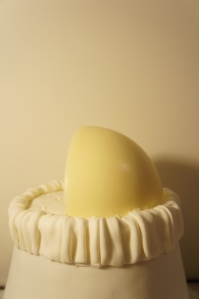
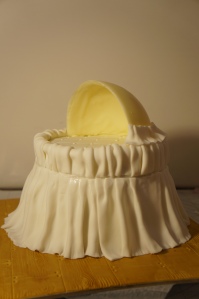
Adhere the tube to the top of the cake. Using some left over melted chocolate adhere the bassinet hood o the top of the cake (within the tube)

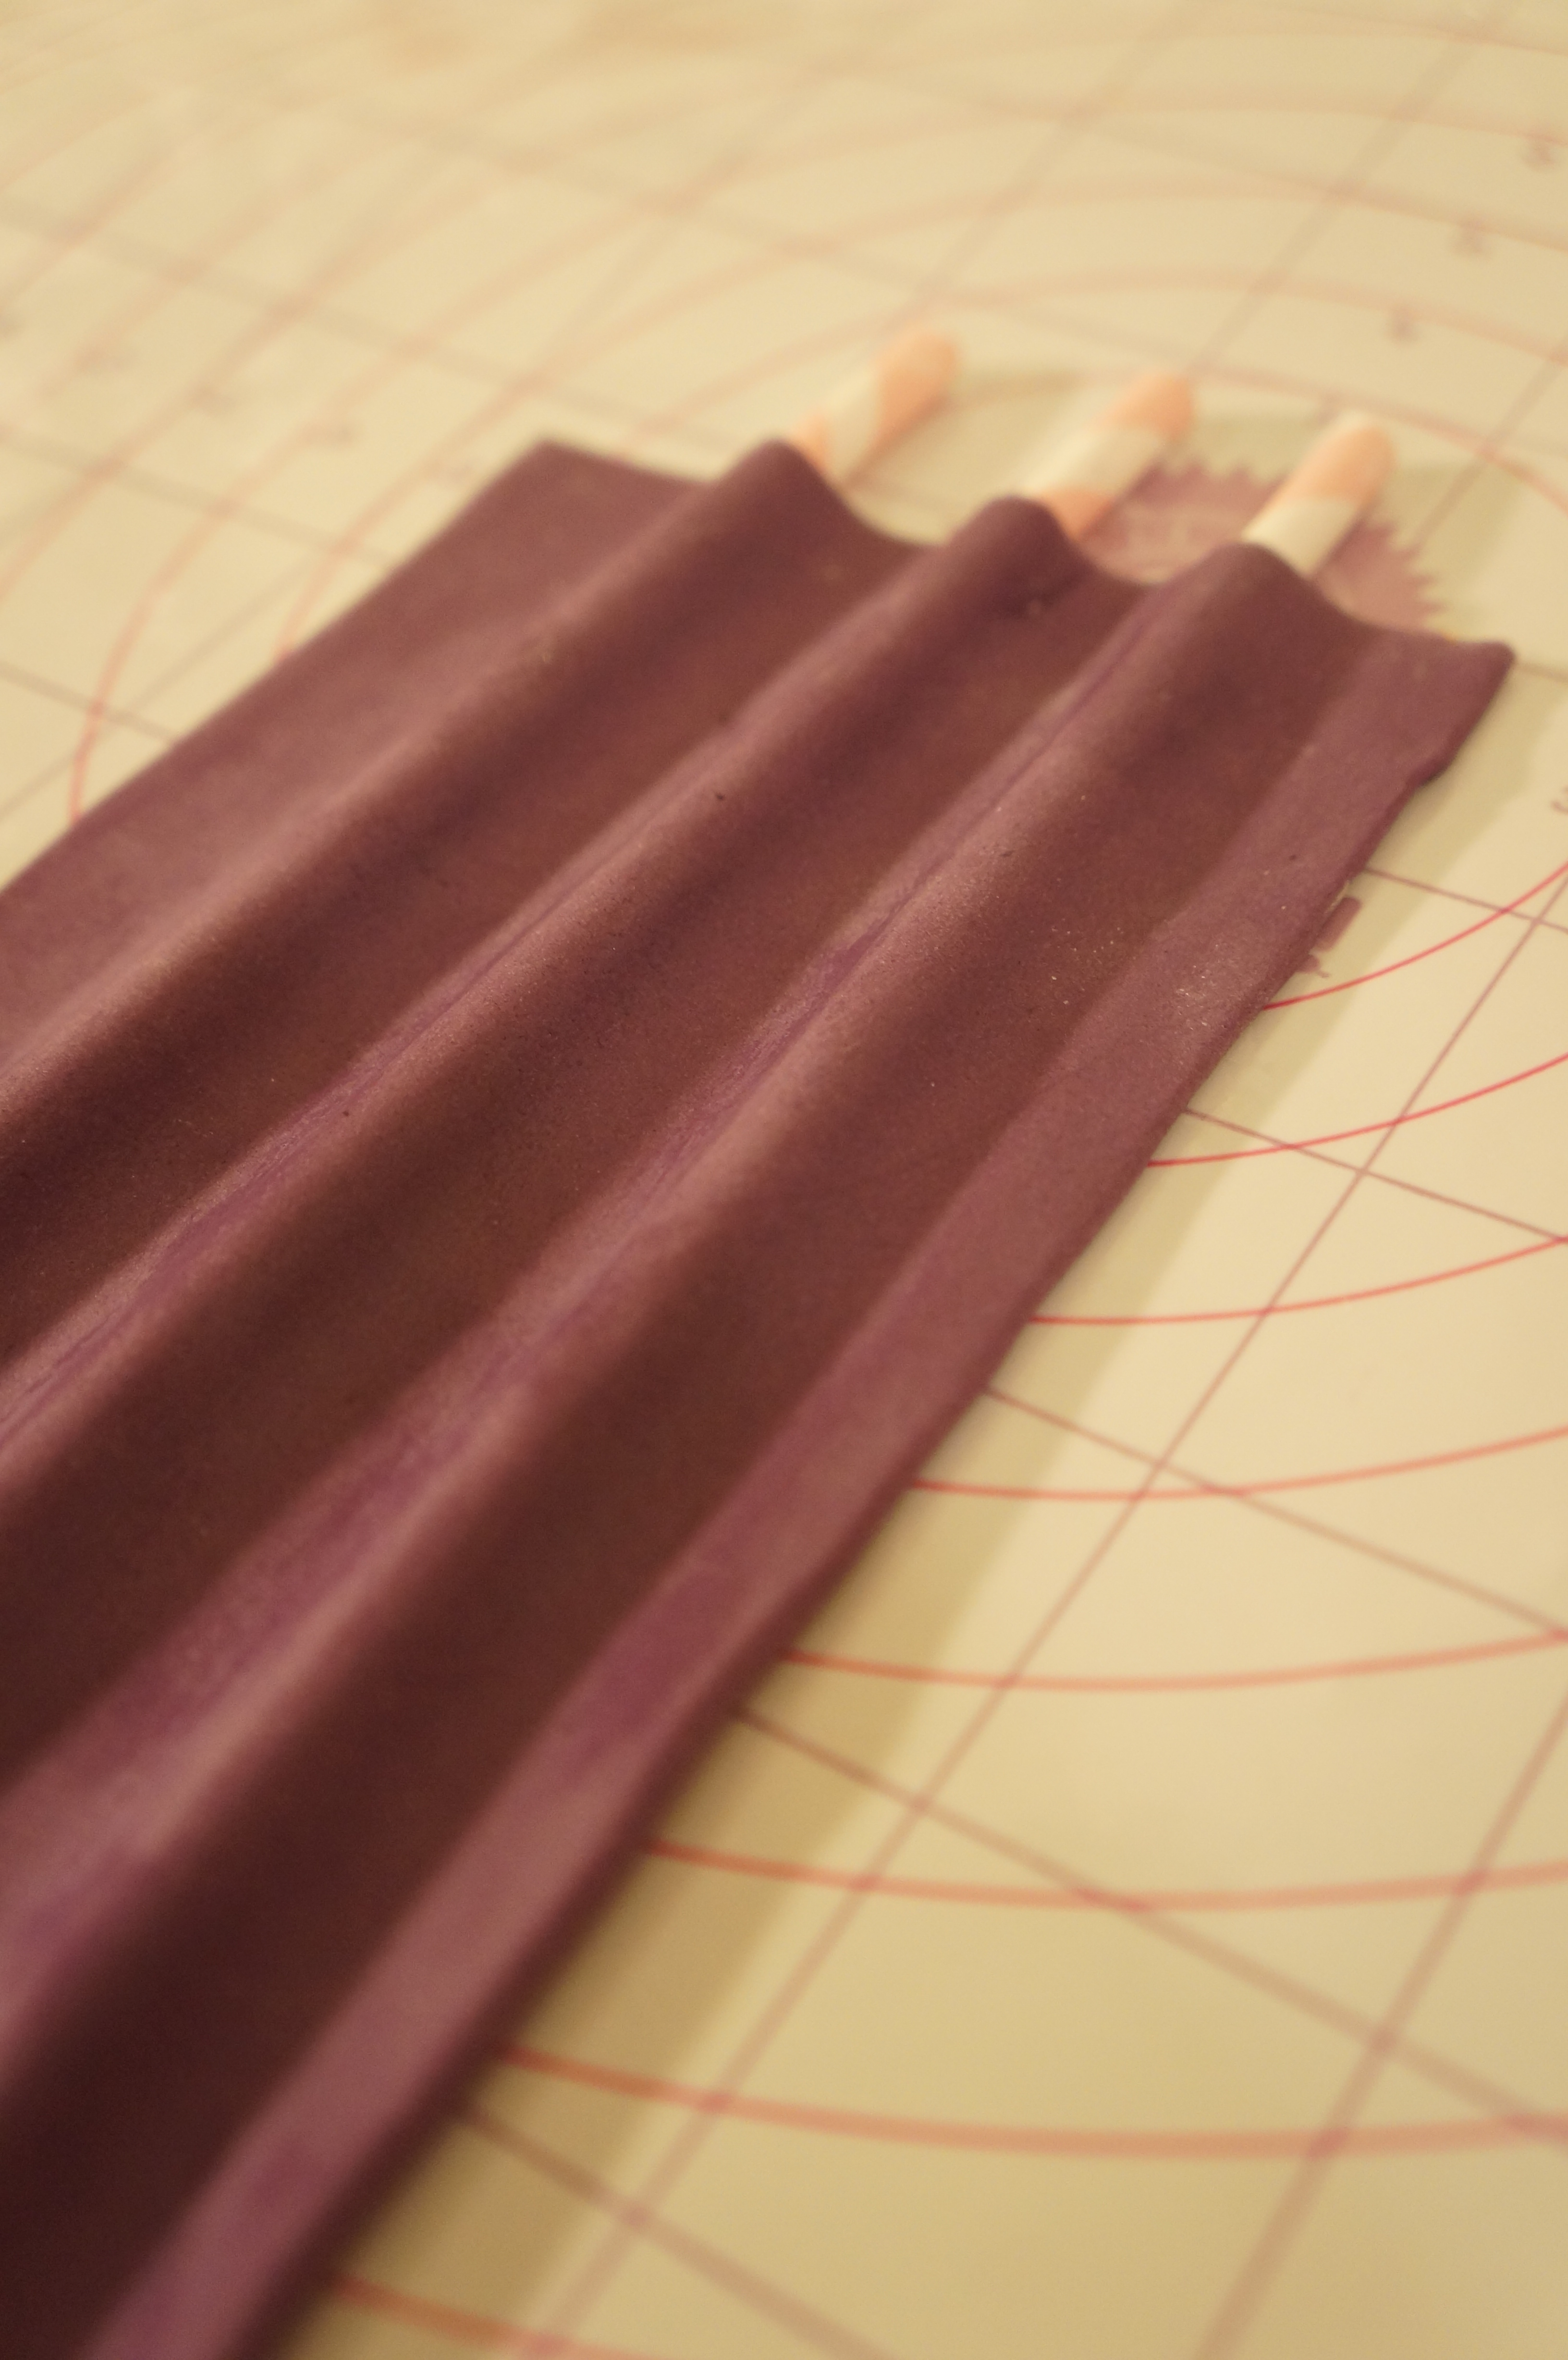
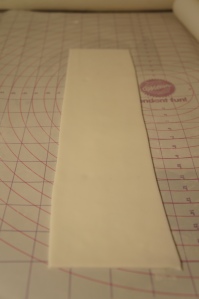
Now to create some pleats. These will be added right around the entire top part of the cake. I scored a mark about 1.5 inches down the cake to use as a guideline for where these pleats would end. Then I rolled out some very thin fondant, approx inches 2 high and 3 inches wide. This will vary depending on your design and cake size.
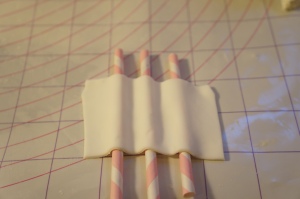
lay fondant over 3 straws (or dowels), use your fingers to smooth grooves into the fondant.

Gather straws at the top to create pleats.
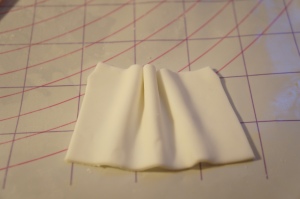
Remove straws and pinch fondant together.

Add a teeny bit of edible glue or water to the inside seam of the tube. I have already added the first pleat in this image.
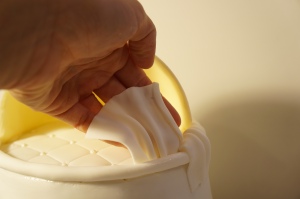
Tuck pleat carefully into the inside of the tube, applying gentle pressure…

Pull pleat over tube and adhere the bottom of the pleat to the line that has been scored as a guideline.

The pleat should have a tidy finish on the inside.
The pleats should be starting to look like this, remember no two pleats will ever be the same, so don’t stress too much about them, once you stand back and look at them all together they will have a beautiful fabric effect. (Remember I had already added one pleat to this prior to the pic)
All of the following pleats must have a little “hem”, this part over laps the prior pleats and gives the effect of one continuous piece of fabric.
I added a dab of water in between each new pleat where the new one overlaps
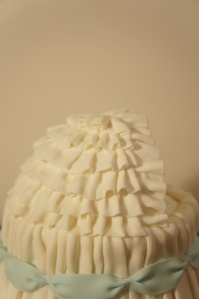
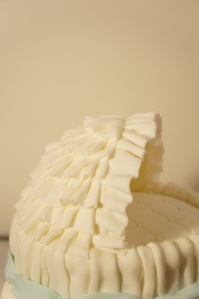
Finish the pleats moving around the entire top of the cake.

Taa-daaa! Ok, so there’s a bit to go but you see where this is going now….
Now for the bottom fabric pleats, this part can be done is long sections. but its important to measure out the correct height.
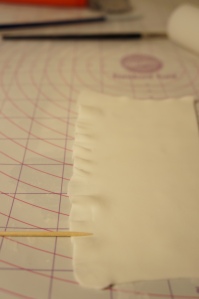
Use a tooth pick (or your favourite tool for ruffles) to create a soft ruffled bottom
Start adding the pleats to the bottom section of the bassinet. I used my straws to create the pleats (as shown above)
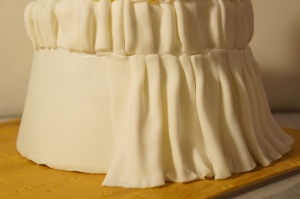
Add pleats the whole way around. Take time to adjust the bottom to make sure its falls nicely.
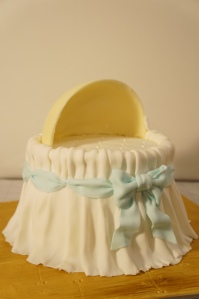
Add Bassinet features, I added ribbon swags and a large bow. The swags hide where the pleats join.
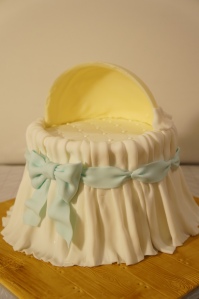
I created the ribbon swags by cutting lengths of very thin fondant and then pinching the ends together to give an effect of being threaded into the fabric. You will see in the final pics I have also added little white strips of fondant where the ribbon swags join.
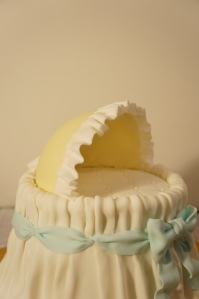
To create the bassinet hood pleats, I cut long strips of fondant, and used a tooth pic to soften and ruffle the edges, then I applied edible glue to the chocolate base and gently applied the first ruffle to the front of the bassinet, I wanted the pleat to over hang the chocolate base as shown.
Moving on to the bottom of the hood, start adding the remaining bassinet hood ruffles, they will face the opposite direction, so that they are hanging down (as shown)
Work all the way up to the top of the bassinet hood, ensuring each layer slightly over laps the prior layer and that the chocolate base is not exposed.
Give each end of the ruffles a small hem to ensure a tidy finish.

Taaa-daaaa!!

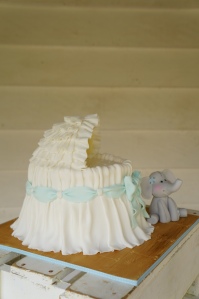
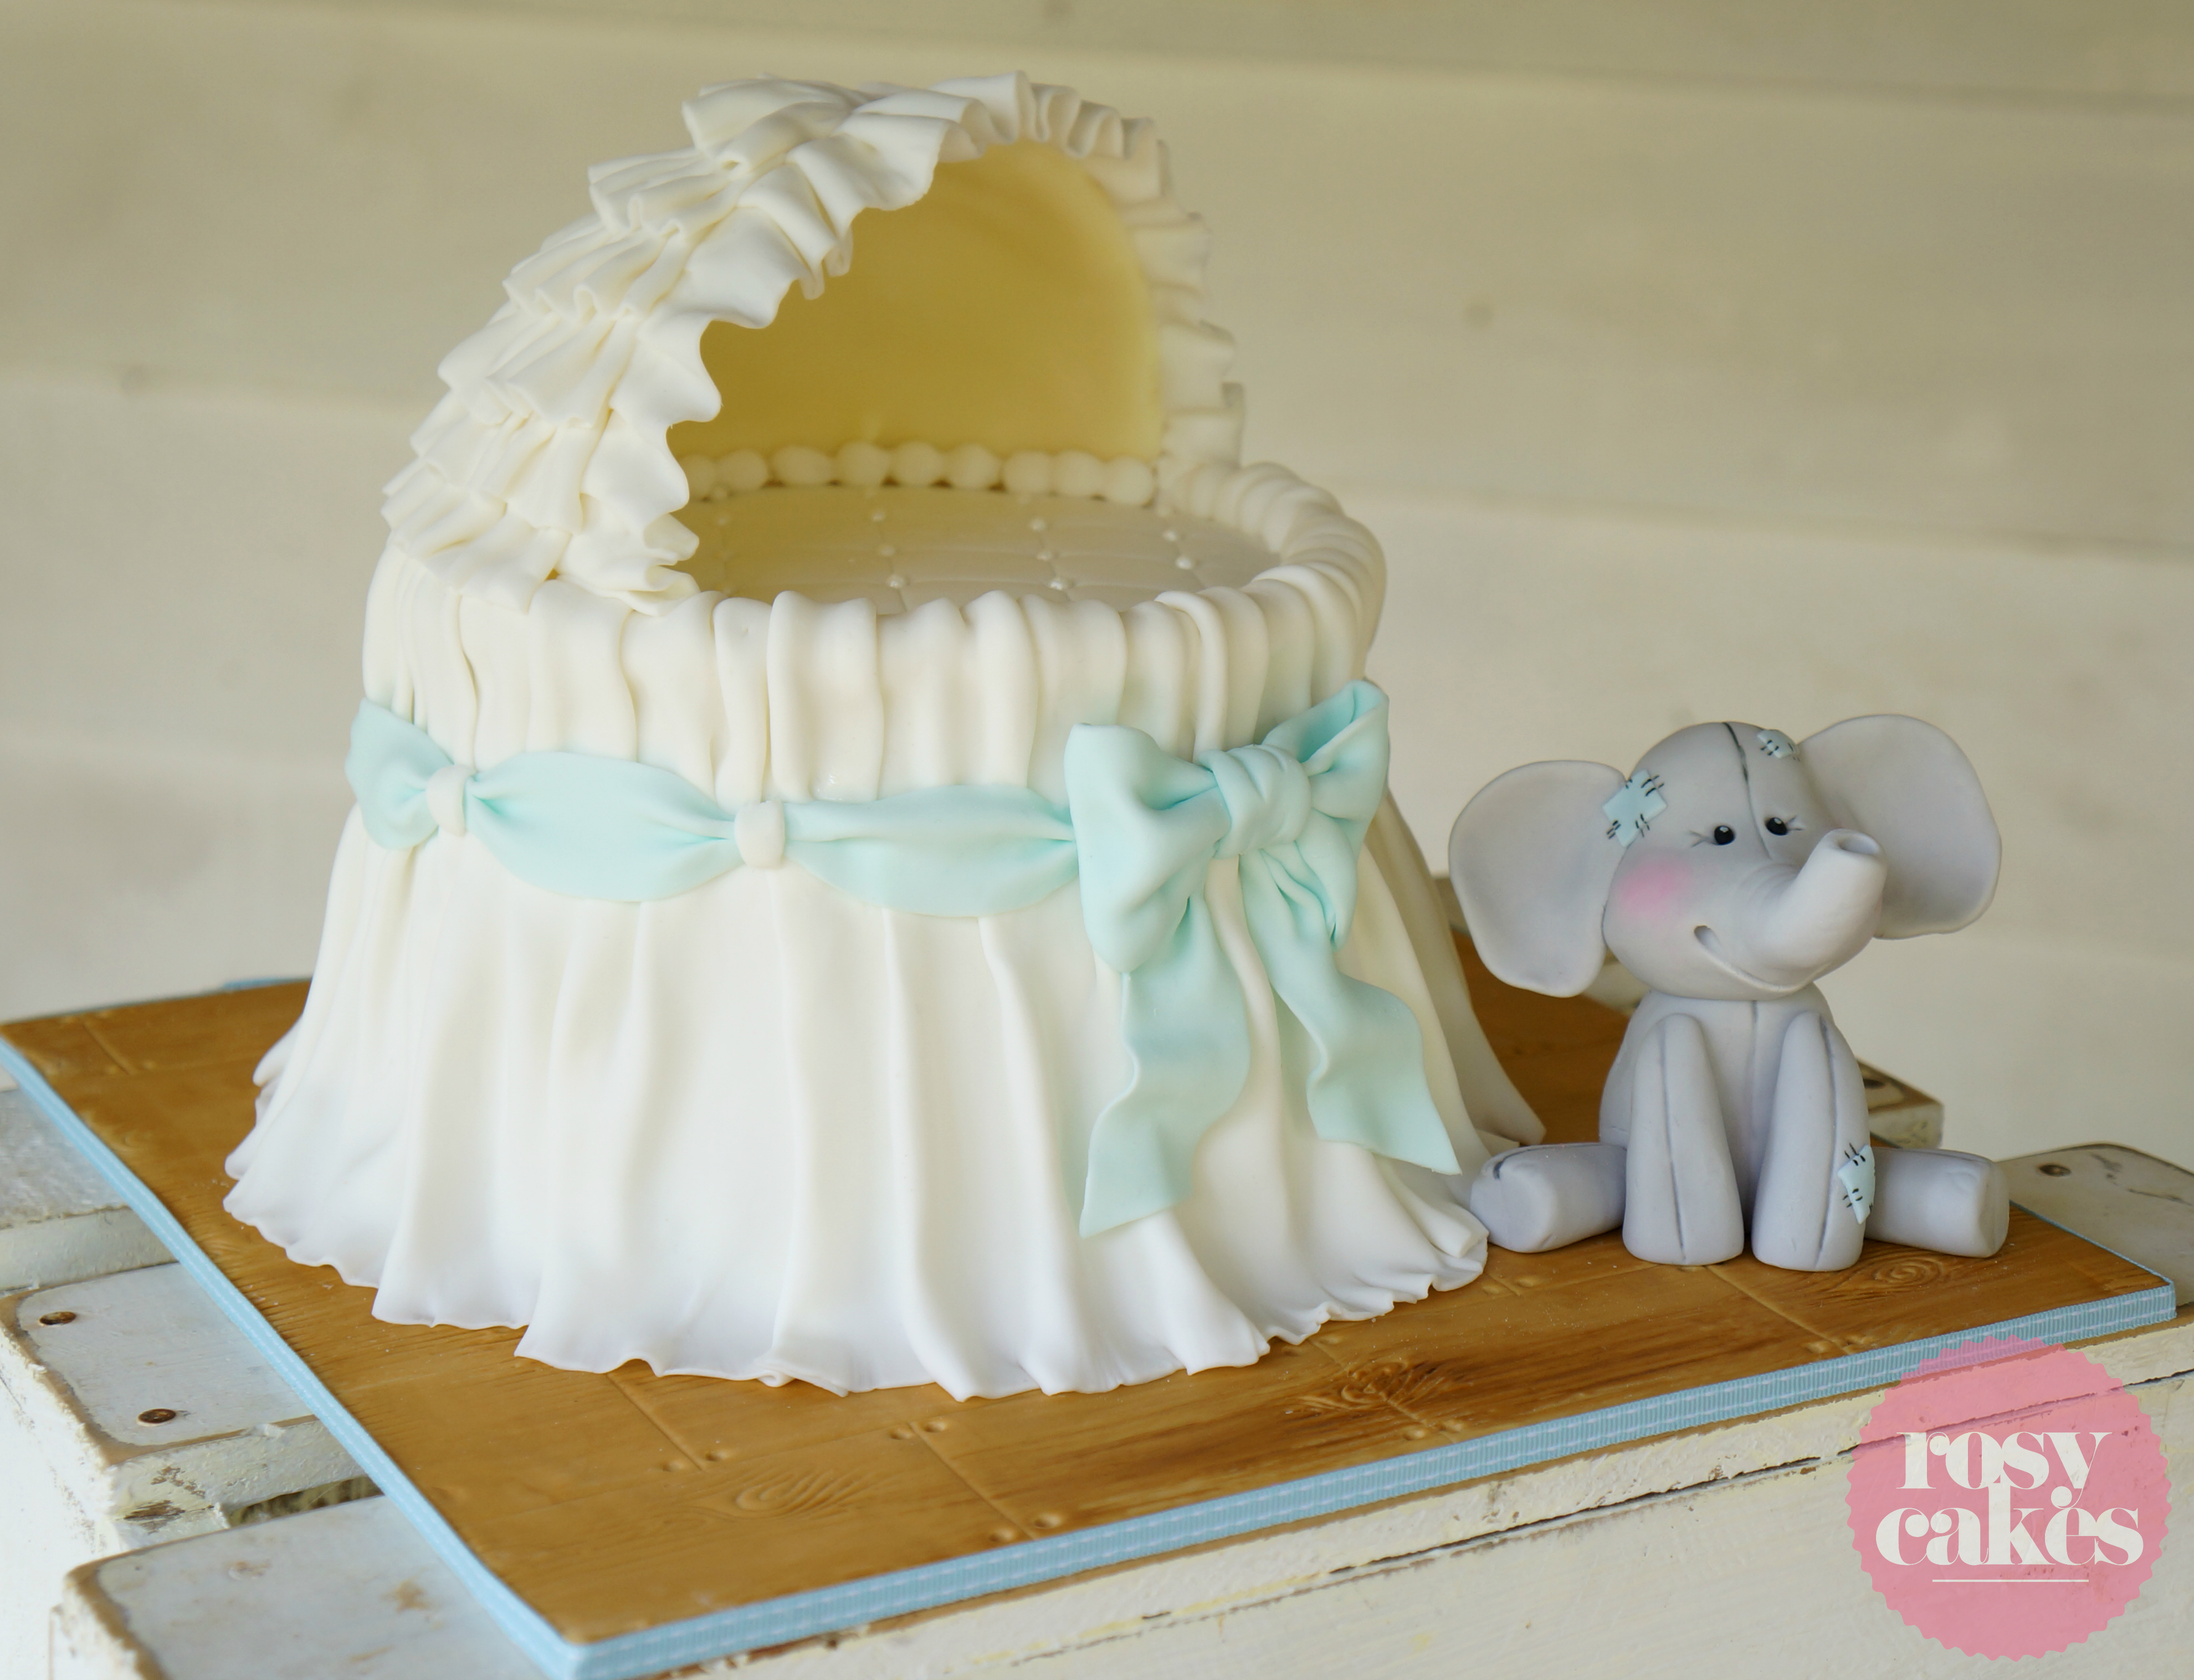
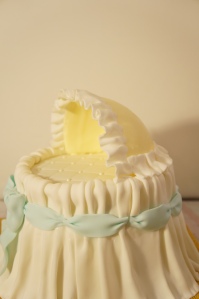
And the finished cake with my extra little touches (I added a pearl border inside the hood for a tidier finish). You can also see my little white strips I mentioned above that cover the blue ribbon joins, and of course my cute little elephant! The cake is sitting a wood grain board which I have also done a tutorial for.